What’s the one thing that is always visible to asset owners, but pretty easy to overlook during the inspection process? Protective coatings and paint.
Measuring several millimeters in thickness, epoxy, intumescent, and zinc-rich coatings help keep critical infrastructure intact against environmental damage. Timely (re)application and dry thickness film testing (DFT) are a key element of asset management programs. Learn how to best perform DFT testing and how to select the tools for the job from this post.
A dry film thickness test is the go-to measure for verifying the correct application of protective coatings and finishes after it has dried on a cured surface. It helps asset owners prevent premature coating failures and stay compliant with regulations.
As a result of too-thin coating applications, assets may deteriorate faster and require more frequent maintenance as a result of corrosion, environmental exposure, and chemicals. Coatings that are too thick can be prone to cracking, peeling, or poor adhesion, also negatively affecting asset integrity. Ultimately, both lead to more severe risks.
The National Association of Tower Erectors warns that many towers are susceptible to failure due to corrosion to the guy anchors, urging asset owners to conduct more frequent visual inspections and apply the coating in combination with cathodic protection. In the maritime industry, corrosion costs between $50 billion and $80 billion annually, oftentimes due to subpar protective coating application or irregular inspections.
By ensuring that the coating thickness complies with industry standards, you can significantly extend the asset lifecycle and balance maintenance costs. Film thickness measurement data also helps track coating performance over time to optimize substance selection, application techniques, and recoating schedules.
A standard dry film thickness test involves using a hand-held or a remote-operated dry film thickness measurement gauge to analyze the surface. Depending on the substance material and coating type, you may go for either a magnetic induction, electromagnetic, eddy current, or ultrasonic dry film thickness gauge.
Electronic DFT coating instruments are the most popular as they are simple to use, versatile, and deliver accurate measurements. The latest models (more on this in the next section!), offer a magnetic induction mode for ferrous metals (e.g., steel) and an eddy current mode for non-ferrous metal substrates like aluminum. The units of DFT measure are predominantly in millimeters (mm). A common range of DFT probes is 0-1.5 mm for ferocious materials and 0-0.7 mm for non-ferocious ones.
A test must be performed according to applicable dry film thickness standards:
You must calibrate the dry film thickness gauge accordingly before starting the test. It’s a good practice to take multiple readings at various locations on the coated surface to obtain comprehensive data. Next, calculate the average thickness and compare it to the specified range to determine if the coating application meets the requirements.
Dry film coating thickness measurement methods (and tools) fall either in the destructive or non-destructive category.
Destructive DFT measurement methods like cross-sectional microscopy or microgravimetric analysis damage the coating to evaluate its thickness. Although they provide highly accurate measurements, they’re not always applicable to assets in use.
Non-destructive testing methods for dry film thickness measurement are thus more commonly used in asset management. With a magnetic induction and eddy current gauge, you can determine coating thickness without causing structural damage. These methods provide instant results, making them ideal for regular inspections.
Below are the most popular types of dry film thickness gauges for performing NDT and destructive dry film testing.
Mechanical coating thickness gauges are the classical tool in the box. Elcometer 211, lovingly nicknamed “banana gauge” due to its shape and warm yellow color, uses a dial gauge that measures the coating thickness based on the deflection of a spring-loaded pin or probe. Despite its compact size, it can measure non-magnetic coatings (paint, powder coating, plastic, epoxy, etc) up to 6 mm (250 mils) with an error of less than 5%.
MikroTest gauge from Erichsen is another popular option to measure the thickness of non-magnetic (paint, lacquer, rubber, plastic, or galvanic) coatings on steel using the magnetic holding force method.
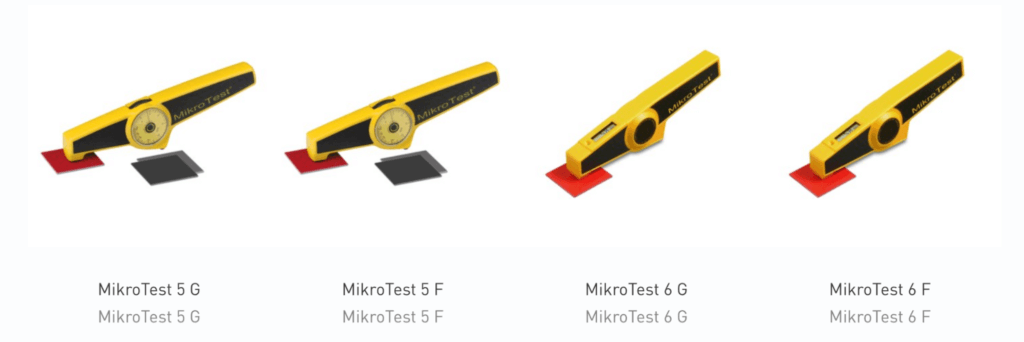
Mechanic DFT gauges are portable, inexpensive, and easy to operate. Tests can be carried out on a wide range of surfaces, including organic ones like wood. Since there are no electronic components, the gauge can be safely used on high-temp surfaces or in high electromagnetic interference (EMI) environments.
But mechanical tools are less precise and measurement accuracy depends a lot on the inspector’s skills. The process takes more time because there are no automatic calibration, data logging, or analytics features. So most inspection crews opt for electronic tools instead.
Modern electronic DFT gauges typically include a dual measurement mode:
Popular hand-held tools include Elcometer 456 and PosiTest DFT gauge, among a wide range of other options at every price point. What sets Elcometer 456 apart is a fast reading mode (70+ readings per minute), rugged, dust-proof design, and extra-large on-device storage capacity of up to 150,000 readings in 2,500 batches. The PosiTest DFT gauge comes close in terms of speed at 60+ readings per minute, but the area where it stands out more is zero and one-point calibration adjustment for complex use cases.
The obvious drawback of both tools, however, is that they are hand-held and require close surface contact. In many industrial inspection scenarios like cell tower maintenance or wind tower inspection that’s problematic since you’ll need to lift personnel up using equipment, build scaffolding, or enlist the help of professional rope climbers.
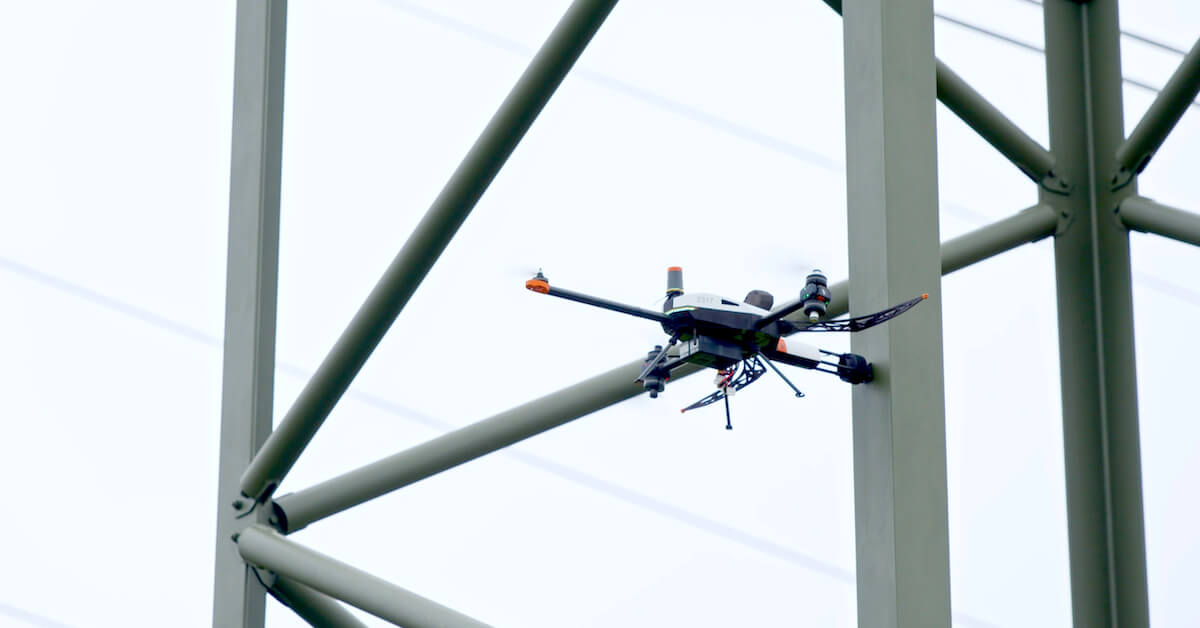
At Voliro, we aim to solve that problem with our inspection drone, equipped with a DFT gauge. Thanks to optimized body design and advanced sensing technologies, the Voliro drone can safely approach structures and perform contact-based work — hover close to the surface, and apply stable force and torque to structures. Our DFT payload, remotely controlled by the piloting app, allows taking accurate coating measurements at height using magnetic induction and eddy current modes.
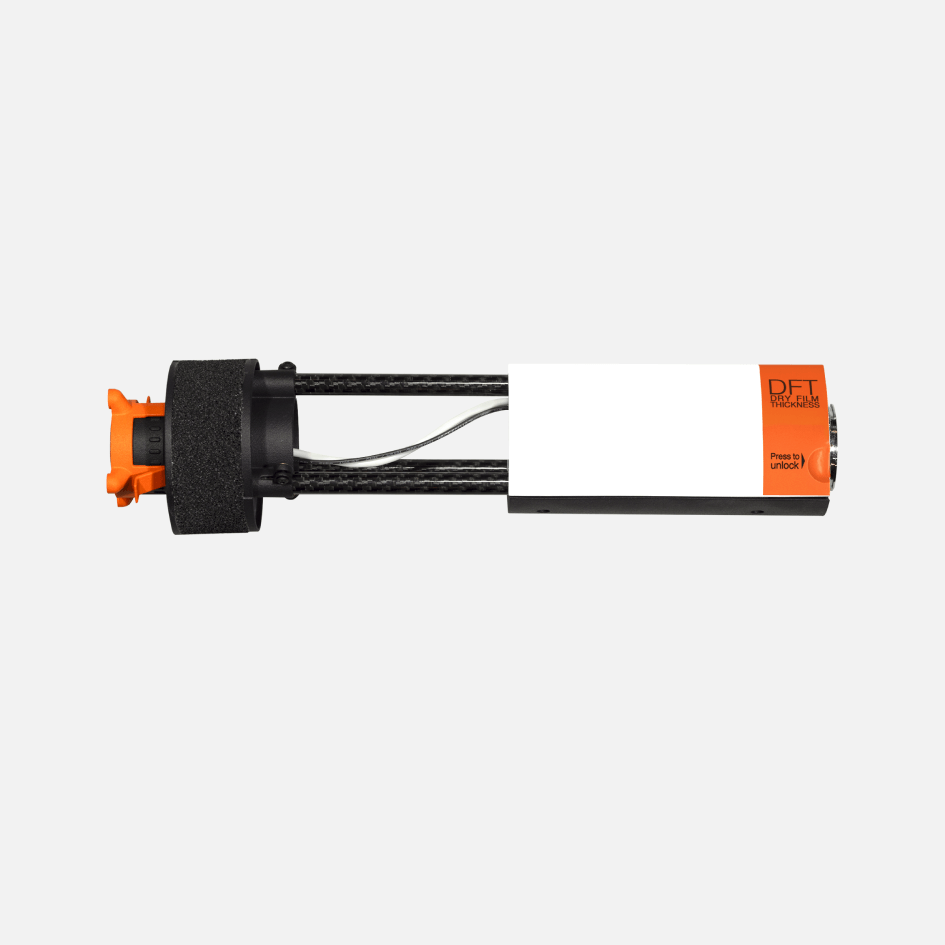
EnerTrans crew used a Voliro drone with a DFT probe to inspect freshly applied protective coating on transmission towers. A one-person team collected all the necessary measurements from 10 towers in one day. Since no rope access was required, the towers remained operational during each inspection, saving the grid company substantial expenses.
Ultrasonic testing is the most universal testing method as it can be used for measuring the coating thickness of any substance and material — metals, alloys, plastics, and woods to name a few.
The gauge analyzes sound wave propagation and reflection in test materials by applying a simple formula of multiplying the speed of sound and time of flight of a high-frequency sound wave and dividing that by two. Modern ultrasonic DFT gauges can thus effectively measure individual layers in a multi-layer coating system.
In addition, ultrasound transducers can be used to take wall thickness measurements in much thicker structures — storage tank walls, chimneys, cement kilns, and industrial piping among other assets. Low-frequency transducers (between 0.5 to 5 MHz) can have a penetration depth of up to 1 meter / 3.2 ft in materials like steel.
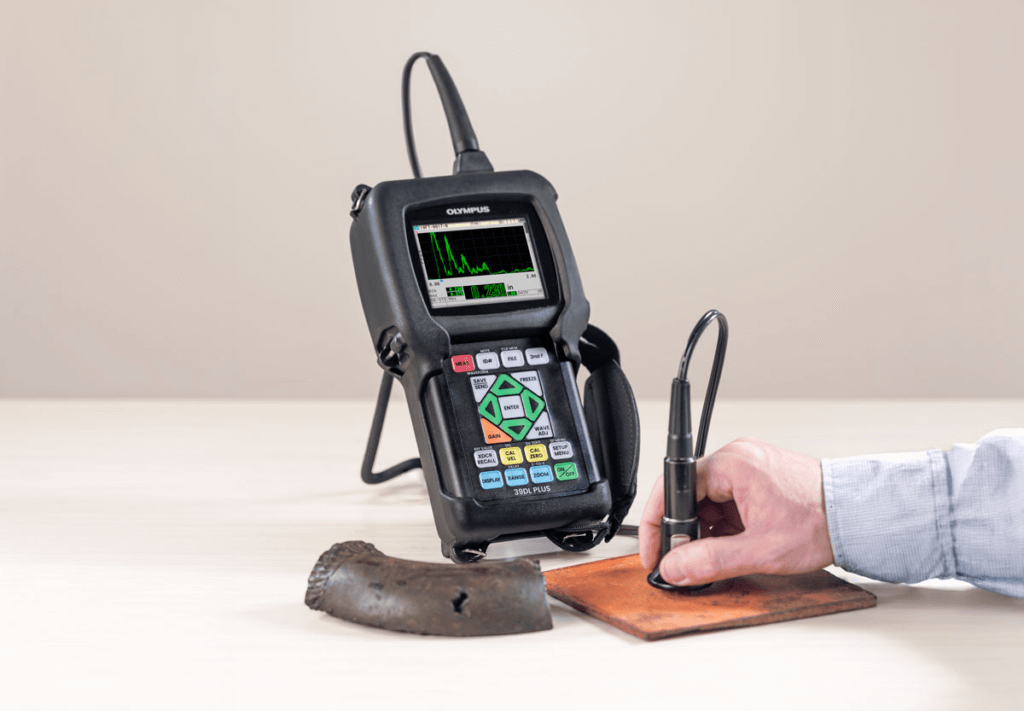
Ultrasonic DFT probes, however, are more calibrated towards accuracy, rather than depth penetration. Olympus 39DL PLUS™ gauge, for example, takes measurements at a range of 0.08 mm (0.003 in.) to 635 mm (25 in.), depending on the material and choice of transducer at a resolution rate of 0.01 mm. The multi-layer model also lets you measure up to four layers at once.
Dakota CMX thickness gauge, in turn, allows measuring coatings and material thickness at the same time. The hand-held device has seven measurement modes, including pulse-echo, echo-echo, pulse-echo temp compensation, echo-echo verify, pulse-echo coating mode, basic flaw, and coating-only mode. In an automated scan mode, the tool will capture 250 readings per second with a 0.01 mm measurement resolution.
If you’re looking to take wall thickness measurements, Voliro’s drone also includes two mountable ultrasonic transducer payloads, featuring an echo-to-echo and pulsed echo test mode with live A-Scan. The supported thickness range is 2-150 mm at a resolution of 0.06 mm.
As it says on the tip, a Hall effect gauge relies on the Hall effect principle, which allows observing changes in the magnetic fields to determine coating sickness. A Hall effect gauge, held close to the surface, measures the changes in the magnetic flux density, which helps measure the thickness.
Unlike previously mentioned DFT tools, the Hall effect gauge works on almost every material including plastics, non-ferrous metals, glass, wood, and certain non-magnetic stainless steel alloys, which makes it a common choice for quality control in manufacturing. For example, to inspect airbag tear streams on molded plastic containers.
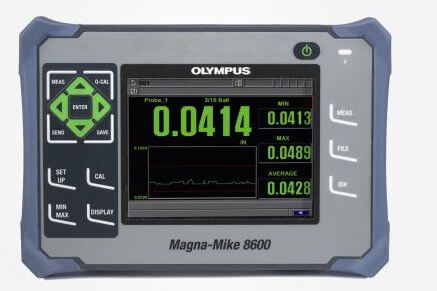
Popular hall effect gauge models include Olympus Magna-Mike 8600, which provides reliable thickness measurements on non-ferrous materials at a supported range of 0.001 mm to 25.4 mm (depending on the used probe).
Lastly, there’s also no shortage of destructive DFT testing methods and tools, resulting in coating or substrate damage or dissolution. The most popular one is the paint inspection gauge (PIG) or tooke gauge for making an indent or scratch in the coating and then calculating the number of graticule divisions across the coating layer to establish its thickness.
Säberg Drill operates similarly, with the difference in how you do the cut. PIG makes a scoring line, while Säberg Drill makes a controlled conical hole in the coating.
The coulometric method is applied for measuring metallic coating thickness. In this case, an electrical current dissolves the coating in a controlled anodic stripping reaction. By calculating the mass per unit area of the metallic coating, you can establish the coating thickness.
Dry film thickness testing is an effective method for inspecting protective paints and coatings, ensuring longer asset protection. DFT data analysis also helps make better decisions about coating selection and scheduled maintenance. By comparing historical data, you can better evaluate the materials’ performance under different environmental conditions and usage scenarios.
Industrial inspection drones like Voliro also minimize the challenges associated with DFT — constrained structural assets, prolonged downtime, and the need for specialized crews. Thanks to a tiltable rotor design, Voliro can approach structures from any direction and apply stable force to take DFT measurements. Onboard navigation sensors and AI-powered assistance helps safely navigate the drone around complex structures and collect comprehensive information on the asset condition.