The goal of every condition monitoring program is to ensure asset integrity, longevity, and reliable performance. Thickness measurement is a common non-destructive testing (NDT) method for evaluating the mechanical integrity of static assets like storage tanks, pressure vessels, and cement silos.
Learn how to choose the optimal thickness measurement method and which thickness gauge to reach for in each case.
Thickness loss can indicate multiple problems. For example, the reduction of metal thickness in bearing structures results in loss of mechanical strength and elevated risks for structural failures. However, it is also inevitable in industrial settings.
For instance, exposure to sodium bicarbonate (NaHCO3) and sodium chloride (NaCl) accelerates thickness loss and corrosion proliferation increase in low-carbon steel. Both compounds, however, are often used in chemical and oil and gas industries. Likewise, acid rain reduces the thickness of Q235 steel, commonly used in construction.
Thickness monitoring helps detect troublesome issues like thinning, corrosion, and cracks, at early stages and schedule a timely intervention. A database of thickness measurement readings also helps better track the remaining asset life based on the minimum thickness levels required for safe operations.
That’s why numerous regulations call for regular thickness measurements.
Adherence to these standards (and other applicable ones) is critical to avoid accidents and penalties.
Inspectors can collect thickness measurements using various methods and NDT tools. Depending on the test material and asset type, you may want to reach for a UT thickness gauge, a pulsed eddy current array probe, or a magnetic pull-off gauge.
Ultrasonic thickness measurement (UTM) primarily applies to metals, composites, plastics, and concrete structures.
A transducer dispatches high-frequency sound waves into the material. Wave reflection from the far side of the material is measured and the thickness is calculated based on sound speed.
Because of high precision and versatility, UTM is often the go-to method for monitoring thickness loss in storage tanks, pressure vessels, pipes, cement kilns, and other assets prone to corrosion, erosion, or wear. For example, ultrasonic thickness measurements of storage tank walls should be done annually to ensure compliance.
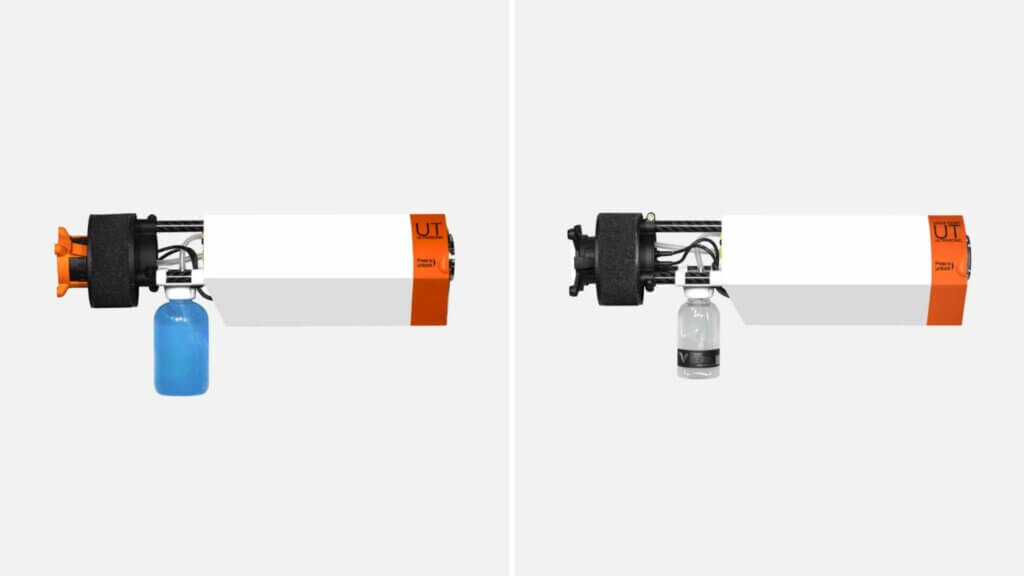
UTM tools come in a great variety too. The most ‘classic’ option is a contact ultrasonic thickness gauge — a tool that requires using a couplant for good sound wave propagation. Contact UT gauges offer high precision even in thin materials, with resolutions down to micrometers. However, they require surface prep and can be difficult to use on rough surfaces as these may distort the signal.
Until recently, contact ultrasonic thickness testers were mostly hand-held, which made inspections a resource-intensive process, involving lifting equipment and scaffolding construction.
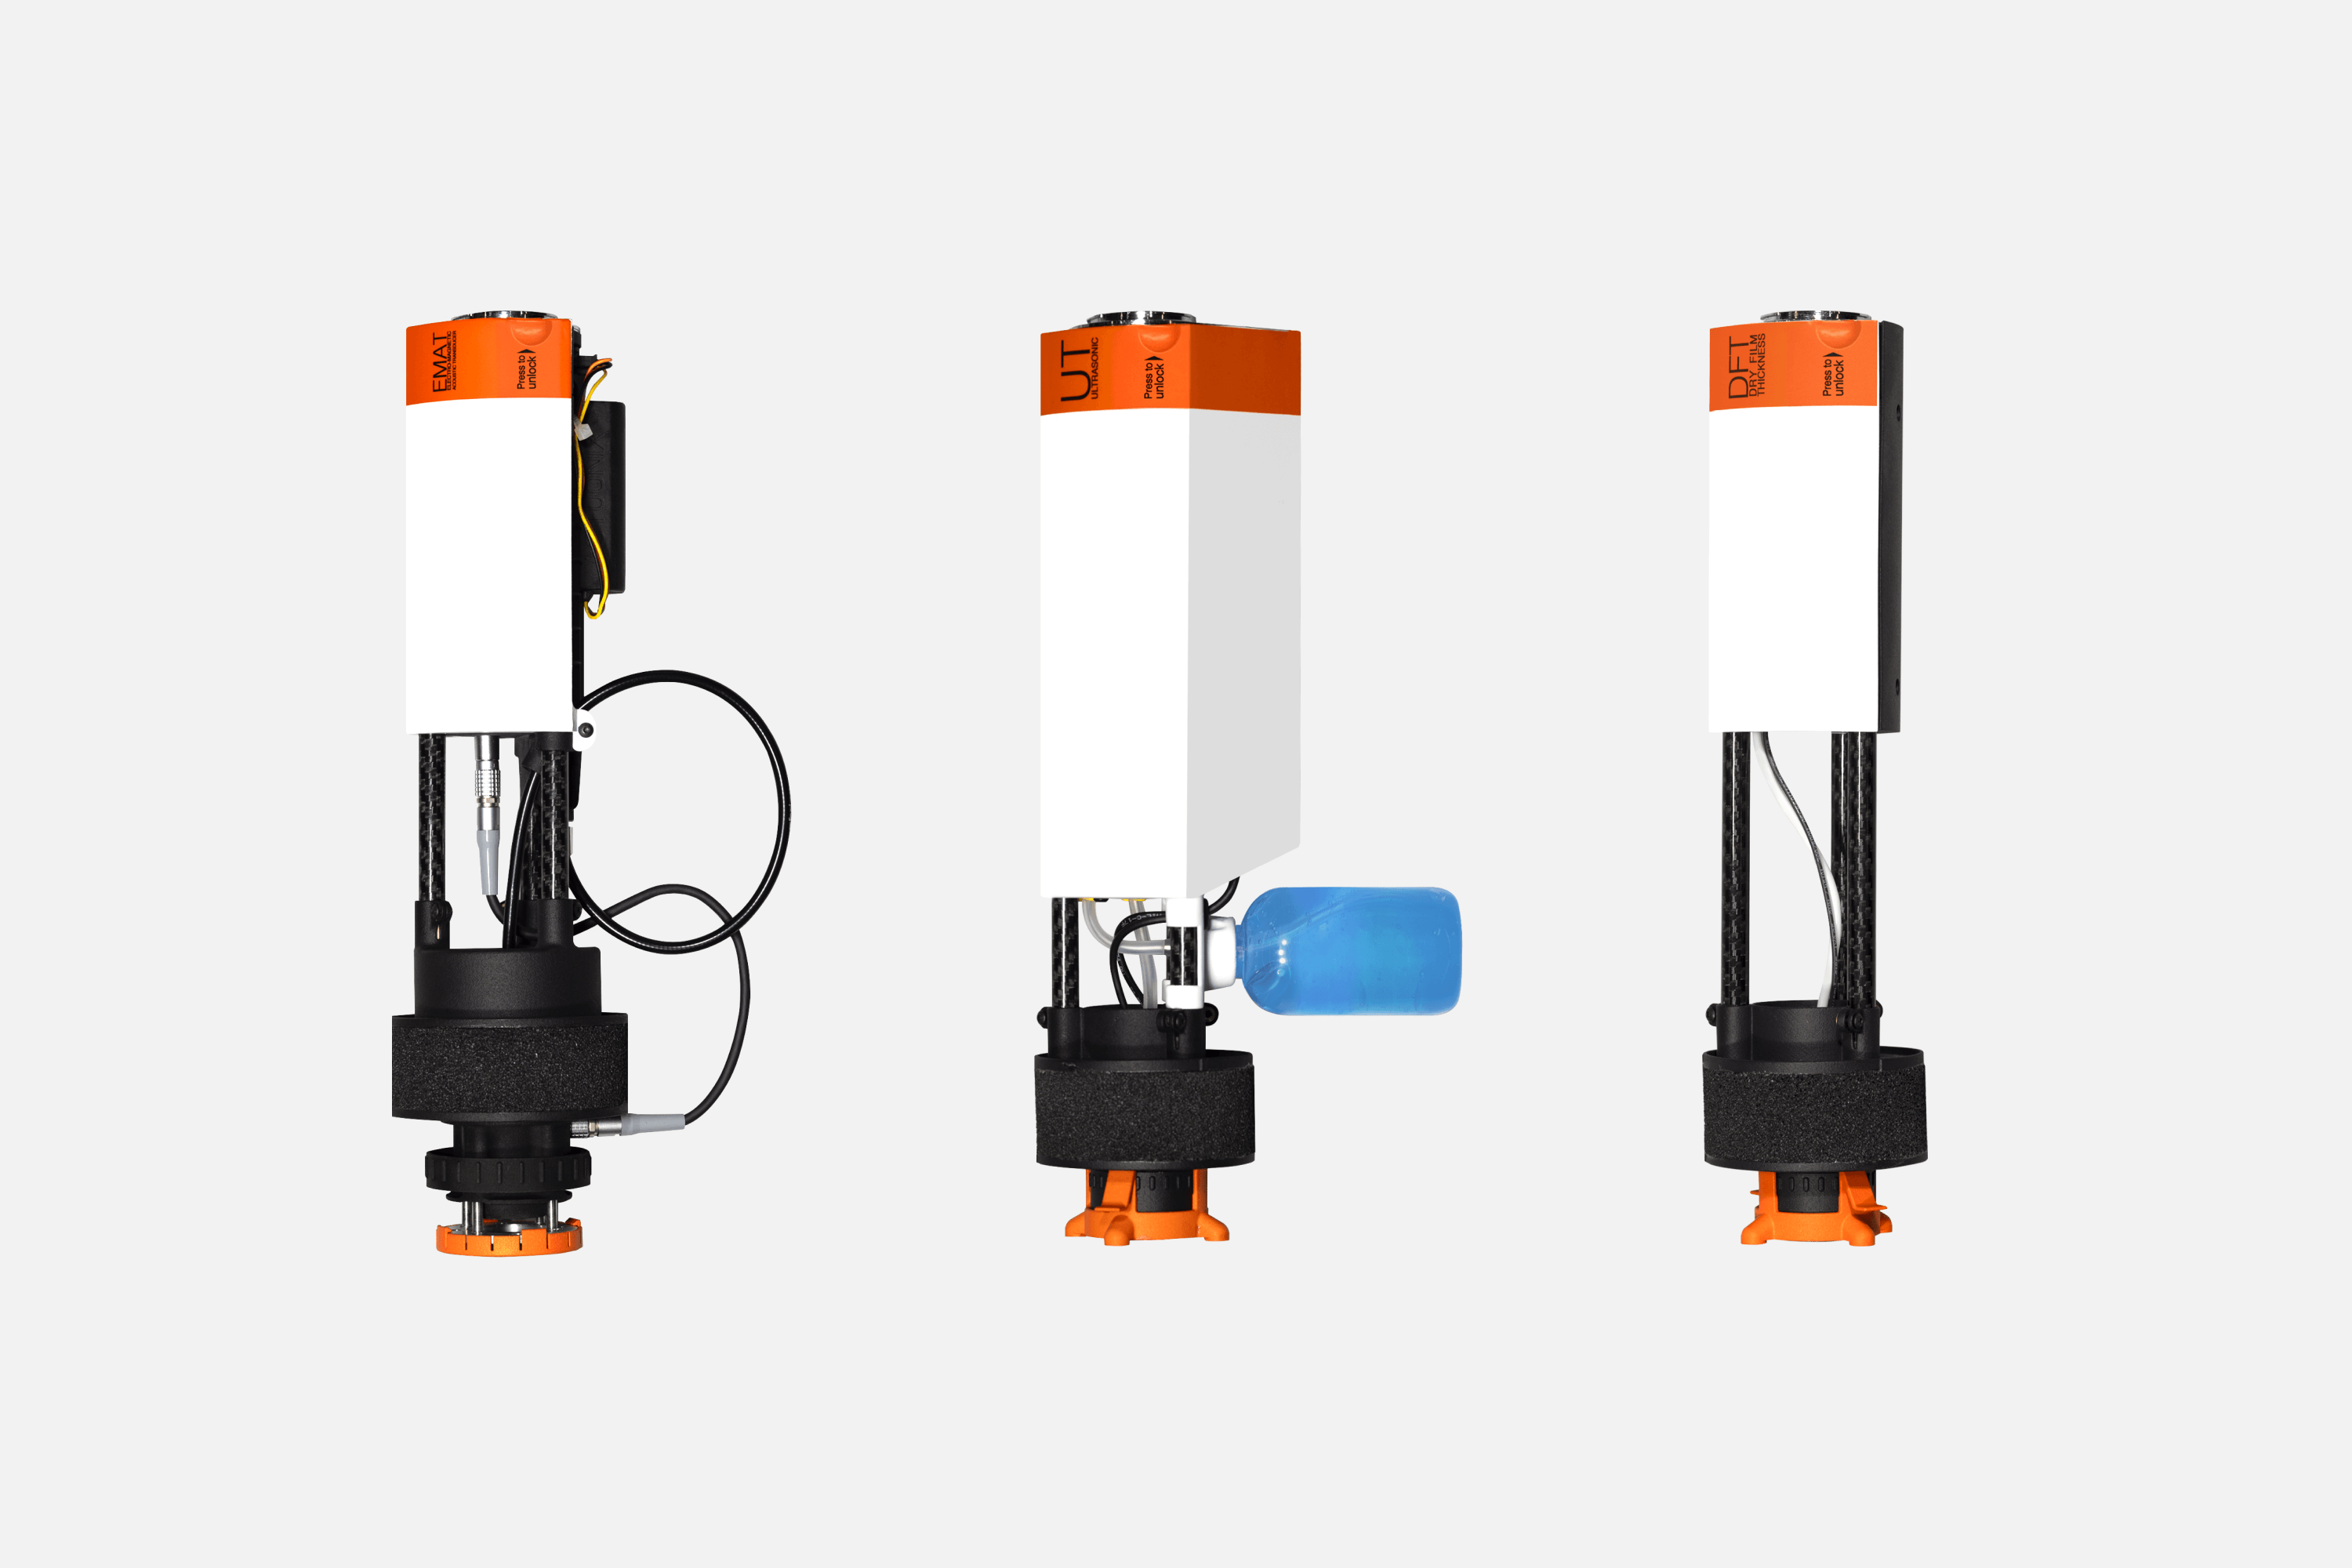
Voliro is changing that. We’ve developed a drone mountable ultrasonic transducer and an inspection drone, suited for contact-based work at height. The standard UT probe supports measurements in the 2-150 mm (0.08-5.9 in) range. Our High Temp UT probe can operate at 0-260 °C (32-500 °F), avoiding the need to cool the surface before inspections.

Both are remotely controlled, allowing inspection crews to collect thickness readings from every angle at any height while staying planted on the ground. All the measurement data is available in real-time in the app for verification.
With Voliro technology, chemical plant operators can complete inspections in 30% less time with minimal operational disruptions. While an oil refinery saved over $150,000 on flare stack inspection that otherwise required rope access and significant downtime.
An electromagnetic acoustic transducer (EMAT) is the second key tool, particularly useful for inspecting dirty, rough, or coated conductive surfaces. Since EMATs leverage electromagnetic fields to send ultrasonic waves directly into the material, no surface prep is required.
The downside is that many EMAT systems are more expensive than traditional ultrasonic probes. If you’re looking to optimize costs, Voliro’s subscription may be a good deal. It includes access to all of our current drone payloads — UT probes, EMAT, dry film thickness measurement gauge, and a lightning protection system testing kit — plus all upcoming software and hardware releases including a pulsed eddy current (PEC) probe coming later in 2024.
Dry film thickness testing helps verify the correct application of protective coatings, paints, and other finishes that prevent corrosion proliferation, and chemical and environmental damage.
Overcoating or undercoating can compromise asset integrity, resulting in cracking, peeling, or premature failure. By taking DFT measurements right after application, you can avoid waste and reduce the need for early maintenance.
Modern electronic DFT gauges include two measurement modes:
Elcometer 456 and PosiTest DFT gauge are two popular tools in this category. Compact, yet precise, they both have a fast reading mode of 70+ and 60+ readings per minute. The downside, however, is that both require surface contact within the hands’ reach. That can be problematic if you’re verifying freshly applied coating on a transmission tower, which is yet to fully dry. Likewise, you’ll need to bring up lifting equipment or commission rope access for inspecting old coatings on high-rise or offshore structures.
Voliro solves this problem with a DFT gauge payload. With a dual magnetic induction (F) and eddy current measurement mode (N), the gauge takes readings in the 0 to 1.5 mm (F) / 0 to 0.7 mm (N) range. The payload was designed for Voliro T — our flagship inspection drone, boasting the ability to tilt and interact in any direction, making it easy to approach, hoover, and scan assets of every size and geometry.
An AI interaction assistant, powered by real-time data from drone sensors, ensures reliable drone performance. A one-person can inspect coating applications on 10+ transmission towers per day without coordinated shutdown.
Apart from coating thickness measurement, eddy current testing also comes in handy for measuring the thickness of conductive materials — steel piping, stainless boiler tubes, ship hulls, and other assets, exposed to rough operating environments.
Eddy current thickness gauges can also measure thickness even when the object is coated with non-conductive layers (e.g., insulation). This allows detecting the oftentimes illusive corrosion under insulation (CUI) — a common problem for equipment in the oil and gas, petrochemical, power generation, and other industries. CUI accounts for 40% and 60% of the total pipe maintenance costs in these industries.
Eddy current thickness measurement gauges provide high measurement accuracy, often in real-time as eddy currents in the conductive material occur almost instantaneously, unlike ultra-sound waves, which take time to propagate. This allows for the inspection of large areas in less time without any compromises to data quality.
ECTM probes in a variety of configurations — surface probes, pencil probes, encircling probes, and array probes — to facilitate measurements of different materials, geometries, and thickness levels.
Eddy current array probes are a frequent choice for industrial inspections as they allow covering larger surfaces in a single pass. Because array probes combine several coils in a linear or matrix configuration, they offer simpler scan patterns and better detection capabilities.
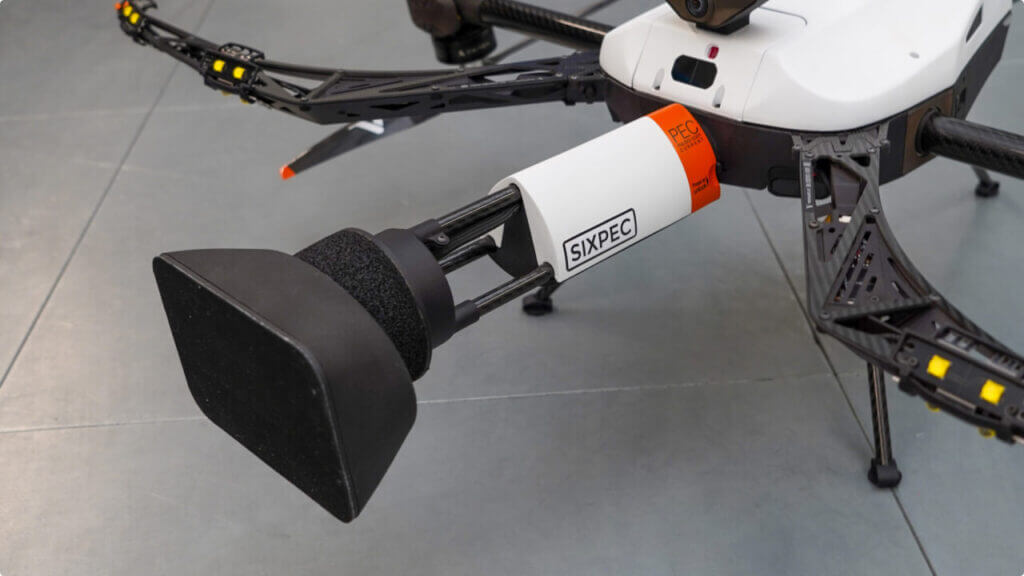
Pulsed eddy current (PEC) probes are another newer interaction. Unlike traditional probes that send continuous or alternating currents at fixed frequencies, PEC probes generate transient signals that penetrate deeper into the surface and offer richer data. So they’re a good choice for measuring thicker or multi-layered structures.
A good range of hand-held PEC probes is available on the market from Eddyfi. Voliro also is releasing a drone PEC payload later in 2024. Purpose-built for detecting CUI with up to 100 mm of insulation thickness, our PEC probe was developed together with Sixpec — a trailblazer in eddy current testing equipment. Tests at the Tupras refinery in Turkey already proved its high efficiency in data collection across hard-to-reach areas.

Magnetic thickness measurement is a solid method for inspecting inherently magnetic materials like steel plates for defects and wear. By using magnetic principles, this technique determines the distance between a magnetic sensor and the underlying magnetic material, providing precise information about the coating’s thickness. It’s also often used to evaluate protective coatings on bridges, towers, pipelines, and other assets, plated to withstand high temperatures and corrosion.
Magnetic thickness measurement tools include:
From storage tanks and pressure vessels to pipelines and concrete structures, regular thickness monitoring helps detect issues like corrosion, wear, and sub-surface cracking before they become major operational nuisances.
With the right methods and new instruments like Voliro’s inspection drone, you can collect high-fidelity data in less time and with less effort. Our goal is to provide inspection crews with the right tools for every job within one platform. One subscription includes the drone, all payloads, software, insurance, and annual maintenance.